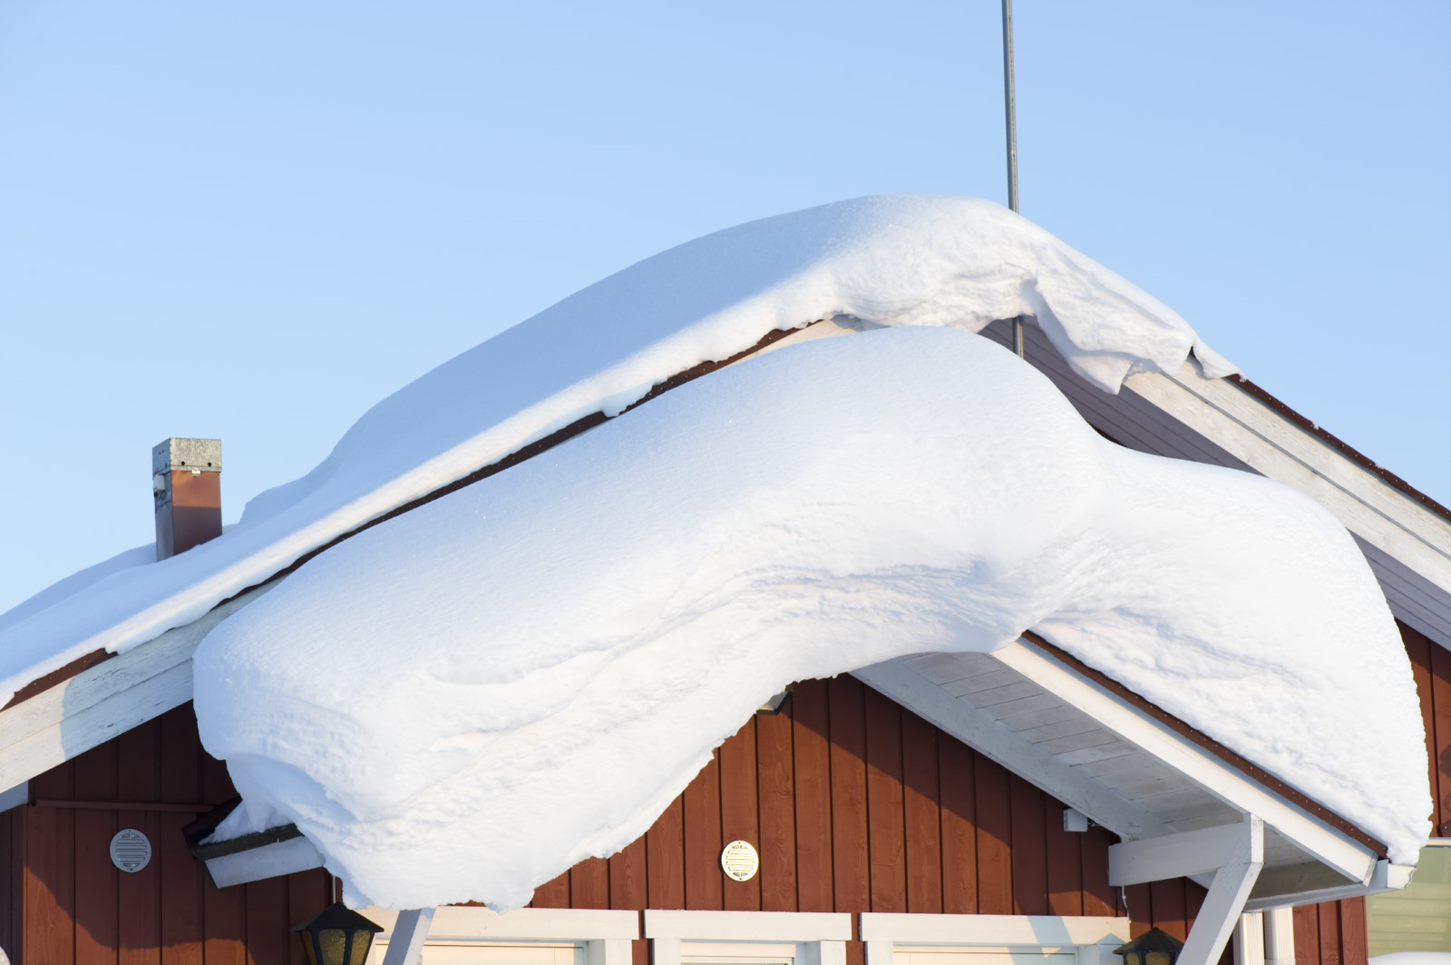
Winter is a season of wonder with its picturesque landscapes and festive spirit. However, for homeowners, it also brings the challenge of dealing with snow. If you’ve looked out of your window recently and seen a thick layer of snow resting on your roof, you might be wondering, “How on earth do I get rid of that safely?”
In today’s post, we’re sharing our top tips and tricks on safely removing snow from your roof. Whether you’re a DIY enthusiast or just trying to save a few quid, these insights will help keep your home safe and sound without breaking the bank.
Why is Removing Snow Important?
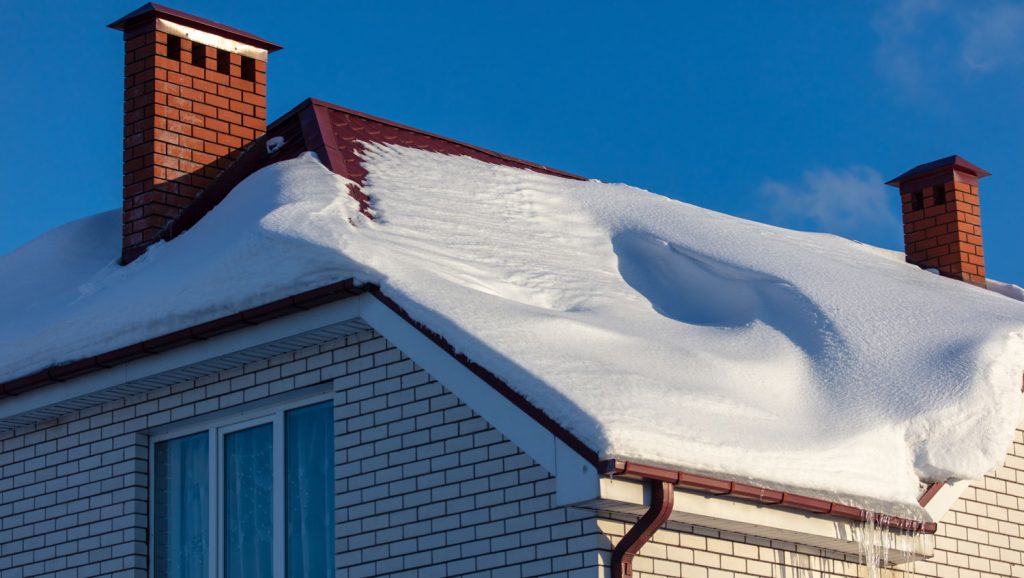
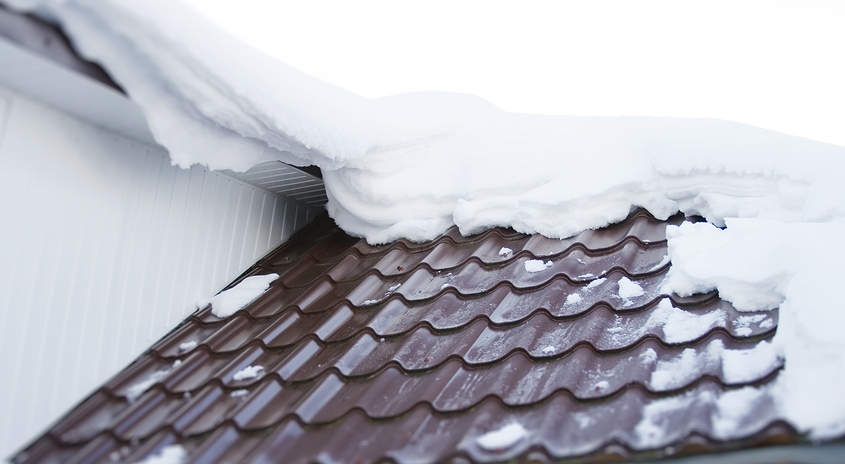
Before we jump into the how, let’s chat about why it’s important to remove snow from your roof in the first place. A heavy accumulation of snow can cause several problems, including:
- Structural Damage: The weight of compacted snow and ice can stress your roof and cause damage or even collapse.
- Ice Dams: These form when snow melts and refreezes at the edges of your roof, leading to leaks and water damage.
- Safety Hazards: Falling snow and ice can be dangerous for anyone walking near your home.
Essential Tools for Snow Removal
To tackle this snowy challenge, you’ll need a few essential tools. Here’s what we recommend:
- Roof Rake: A long-handled tool that allows you to pull snow off the roof from a distance. It’s like a shovel, but for rooftops!
- Snow Shovel: For those who prefer the hands-on approach (pun intended).
- Ice Melt Products: These can help prevent ice dams by melting snow and ice.
- Ladder: For those who are confident and experienced, but always prioritise safety!
Step-by-Step Guide to Snow Removal
Step 1: Assess the Situation
Start by evaluating how much snow is on your roof. If there’s only a light dusting, you might not need to do anything. But if there’s a build-up, it’s time to take action.
Step 2: Use the Roof Rake
Stand safely on the ground and use your roof rake to gently pull the snow down off the roof. Be cautious not to damage the shingles—slow and steady wins the race here!
Step 3: Apply Ice Melt
If you notice ice forming at the edges of your roof, consider using an ice melt product. Follow the instructions on the packaging for best results.
Step 4: Call in the Professionals
If your roof is steep, or you’re unsure about using a ladder, it might be best to call in the professionals. Many companies offer competitive pricing, and it’s worth the investment to ensure your safety.
Safety Tips for Snow Removal
- Avoid Climbing on the Roof: This can be extremely dangerous, especially when wet and icy.
- Watch Out for Falling Snow: Be mindful of where the snow is falling to avoid injury.
- Dress Warmly and Sensibly: Keep warm and wear suitable footwear to prevent slipping.
Final Thoughts
Removing snow from your roof doesn’t have to be daunting. With the right tools and techniques, you can do it safely and efficiently. And remember, if the task seems too challenging, don’t hesitate to call in the experts.
Ready to give it a go? If you enjoyed this blog post, click here for more blogs like this one! Or follow us on our Facebook and Instagram.
Stay safe and warm!
